
4 (Mostly Free) Tools and Programs Beginner Designers Need
1. A Sketchbook or Creative Journal (free)
Inspiration | Creativity | Creation
I believe every beginner designer should have a sketchbook or journal within reach at all times. Carrying a small pocket notebook has a way of sparking inspiration and strengthening my creative mindset. I personally prefer a compact journal that fits easily in a purse or even a jean pocket (if your woman's jeans has pockets), making it simple to bring anywhere. Whether you're sitting at a restaurant waiting for food, passing time before an appointment, or relaxing in a coffee shop, those small pockets of time can turn into powerful moments of creativity!
A sketchbook is more than just a place to draw, it’s a creative playground for ideas, visual brainstorming, and design exploration. You can jot down thoughts from your day like a traditional journal, sketch objects you see around you, illustrate an inspiring quote you overheard, or quickly capture a landscape or environment that catches your eye. These spontaneous sketches help train your eye for composition, typography, and visual storytelling, which are essential skills for any level or type of graphic designer.
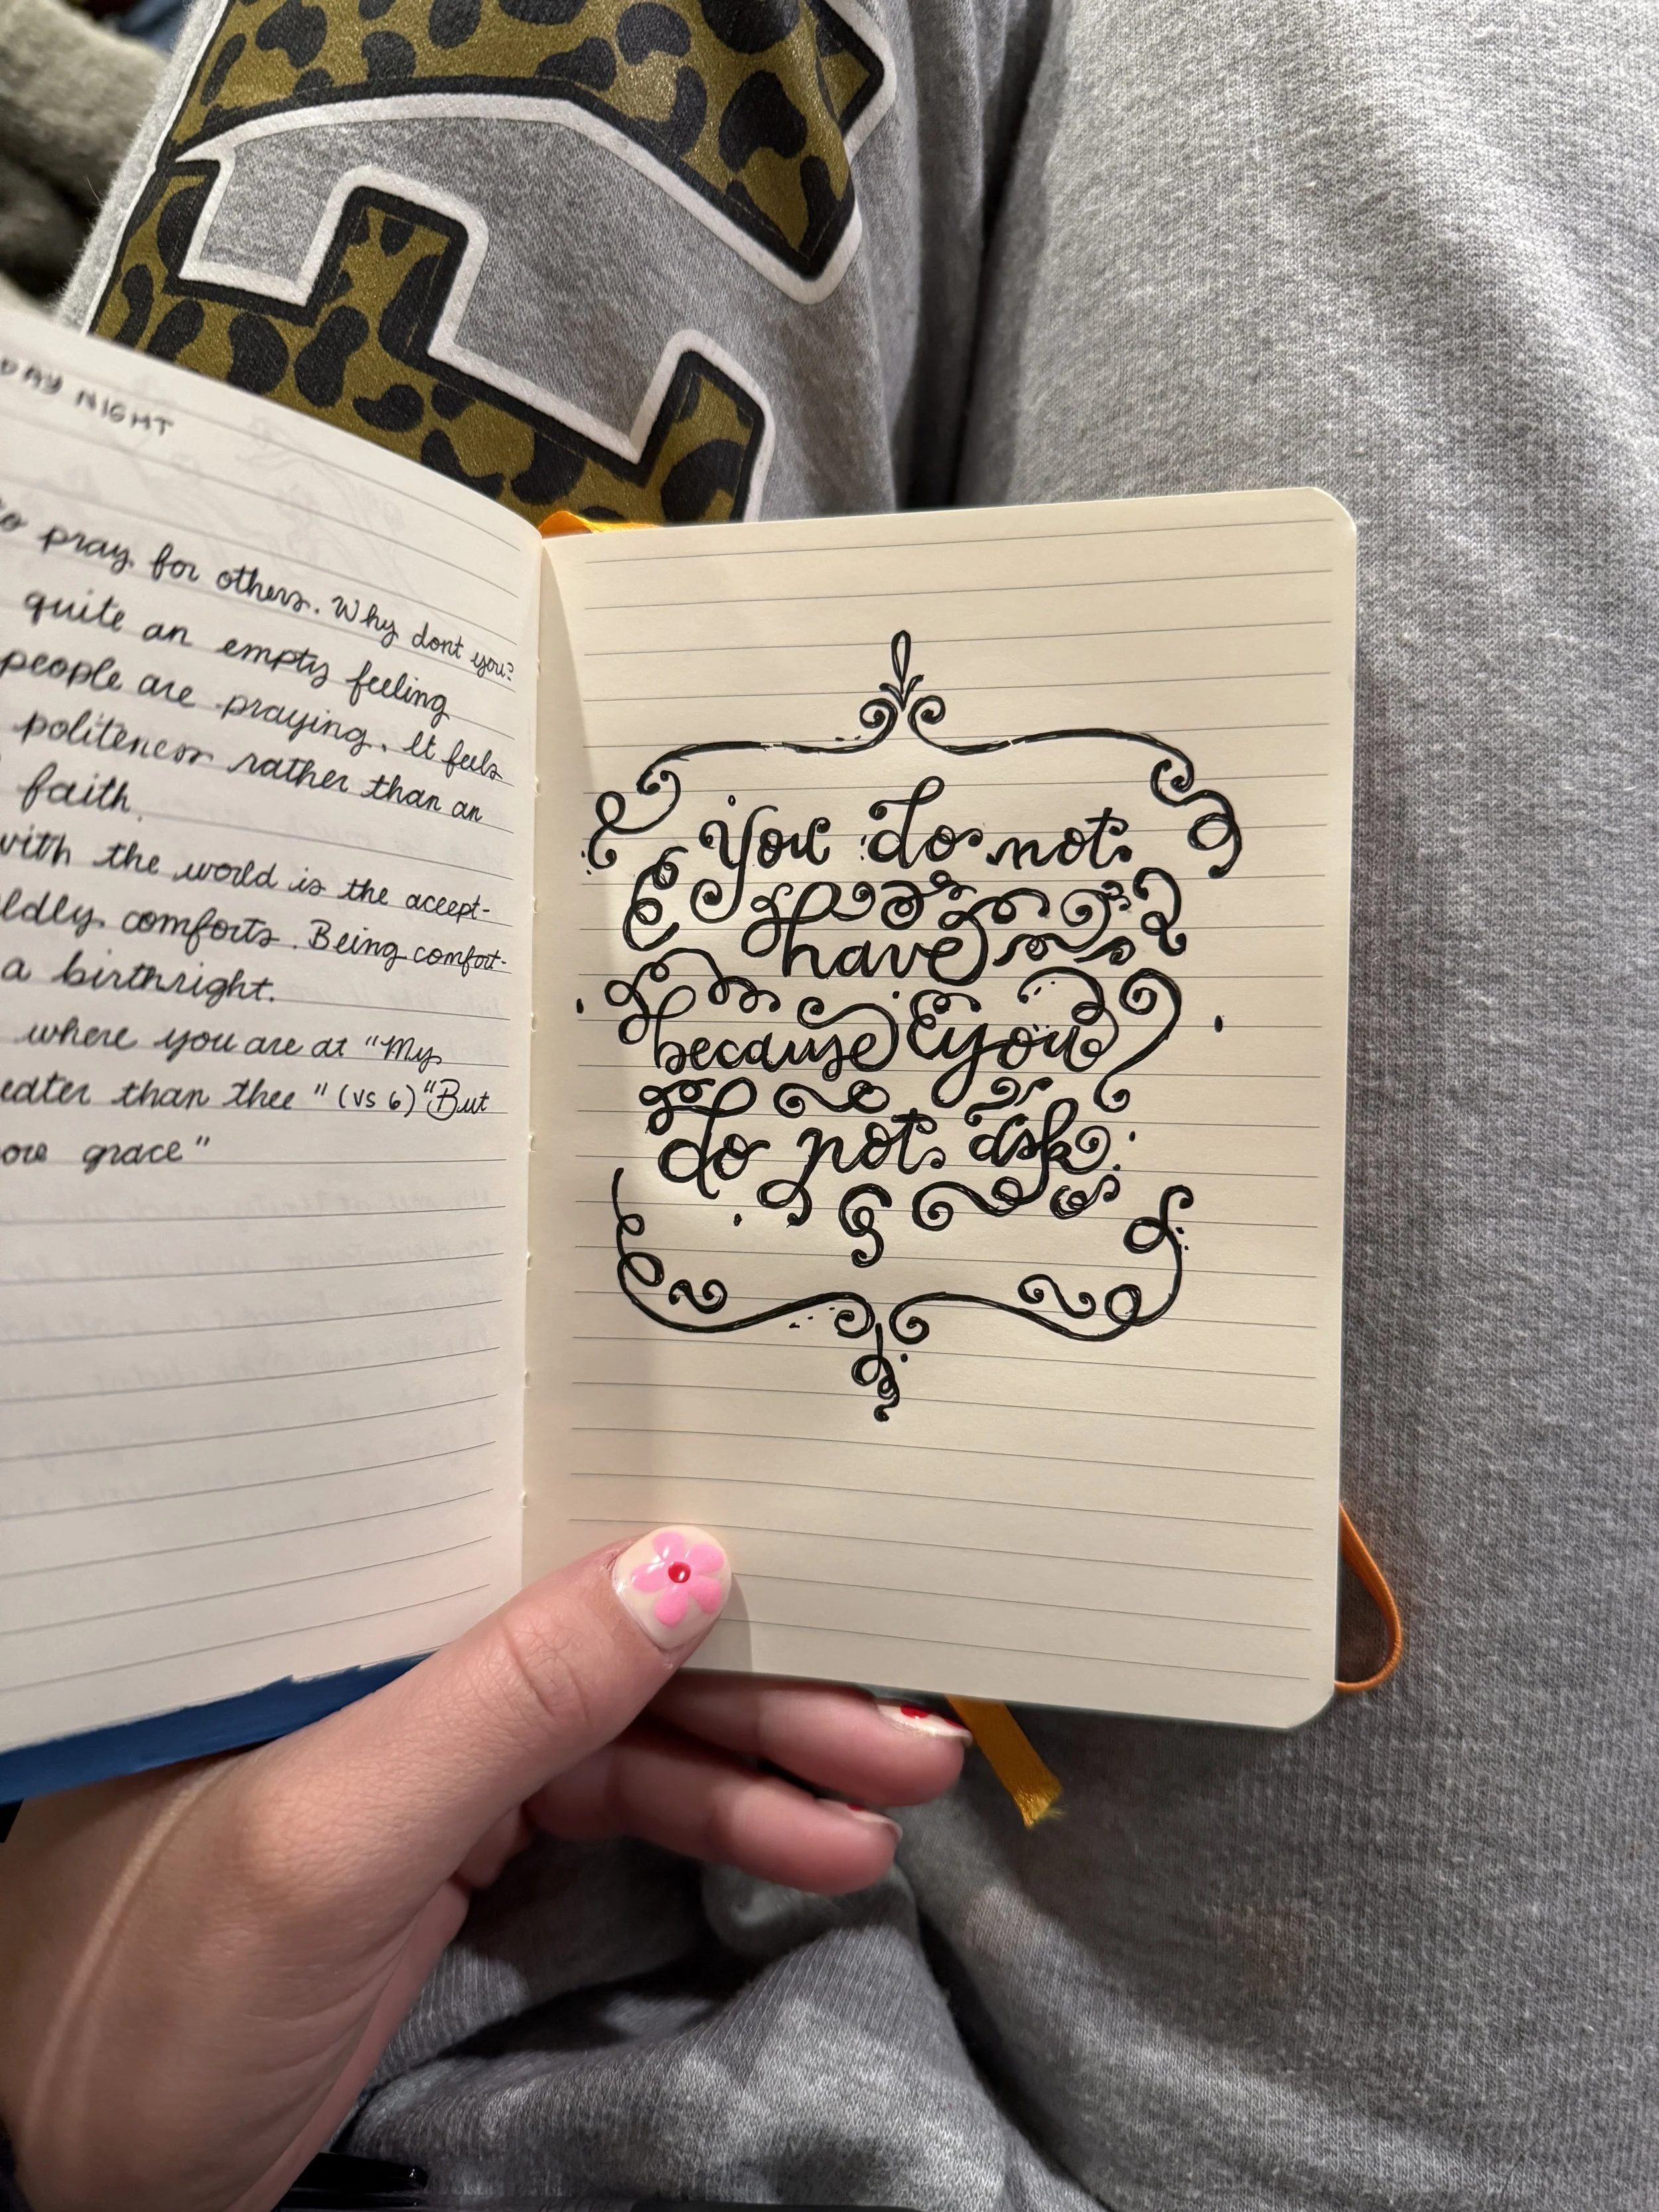
A little typography exploration I did while at a friends house!
Your journal can also double as a design workflow tool. It’s the perfect place to sketch logo concepts, write down client notes, brainstorm branding ideas, and organize simple daily to-do lists. Many designers, especially this ADHD designer, struggle with juggling multiple planners, apps, and notebooks, but keeping everything in one physical sketchbook can help maintain focus and build a more consistent creative habit. There’s also something refreshing about stepping away from screens and digital inspiration for a moment and returning to pen and paper. Slowing down and sketching by hand sparks creativity for me in ways that digital tools can’t.
My last use for a journal is relaxing. When I’m at home and looking for a relaxing activity that also practices design and illustration skills I paint. I browse Pinterest or Cosmo for creative inspiration and either create something original or when I don't want to think, I recreate another artist's artwork using gouache paints or paint markers. This type of casual creative practice helps improve color theory, illustration techniques, and artistic confidence, all of which translate directly into stronger graphic design work.
To conclude, for beginner designers, a sketchbook isn’t just a notebook, it’s a physical and portable idea bank, design practice space, and creative habit builder that helps turn everyday moments into opportunities for artistic and mental growth.
2. Adobe Suite or Affinity (free options)
Creation
As much as Adobe continues to test my patience with constant price increases, its tools are still so deeply built into my design workflow that I honestly cannot imagine working without them. That said, if you are just getting started in design and do not want to commit to a monthly subscription right away, I have heard great things about Affinity from other designers. It is a much more budget friendly option and can be a smart place to begin while you are still learning the basics. I personally have not made the switch because I have years of saved AI files and an established workflow that would just be annoying to switch everything over.
The Adobe apps I use most often are Illustrator, InDesign, Photoshop, and Adobe Fonts. Illustrator is where I create nearly all of my logos, branding assets, and a lot of my layout work. I often import sketches into Illustrator, use Image Trace as a starting point, and refine everything from there. I also use it for some social media and Pinterest graphics before bringing them into Photoshop for final touches. It is also one of my favorite tools for building brand guidelines. I also use canva to build brand guidelines, but I’ll discuss that more in the Canva description.
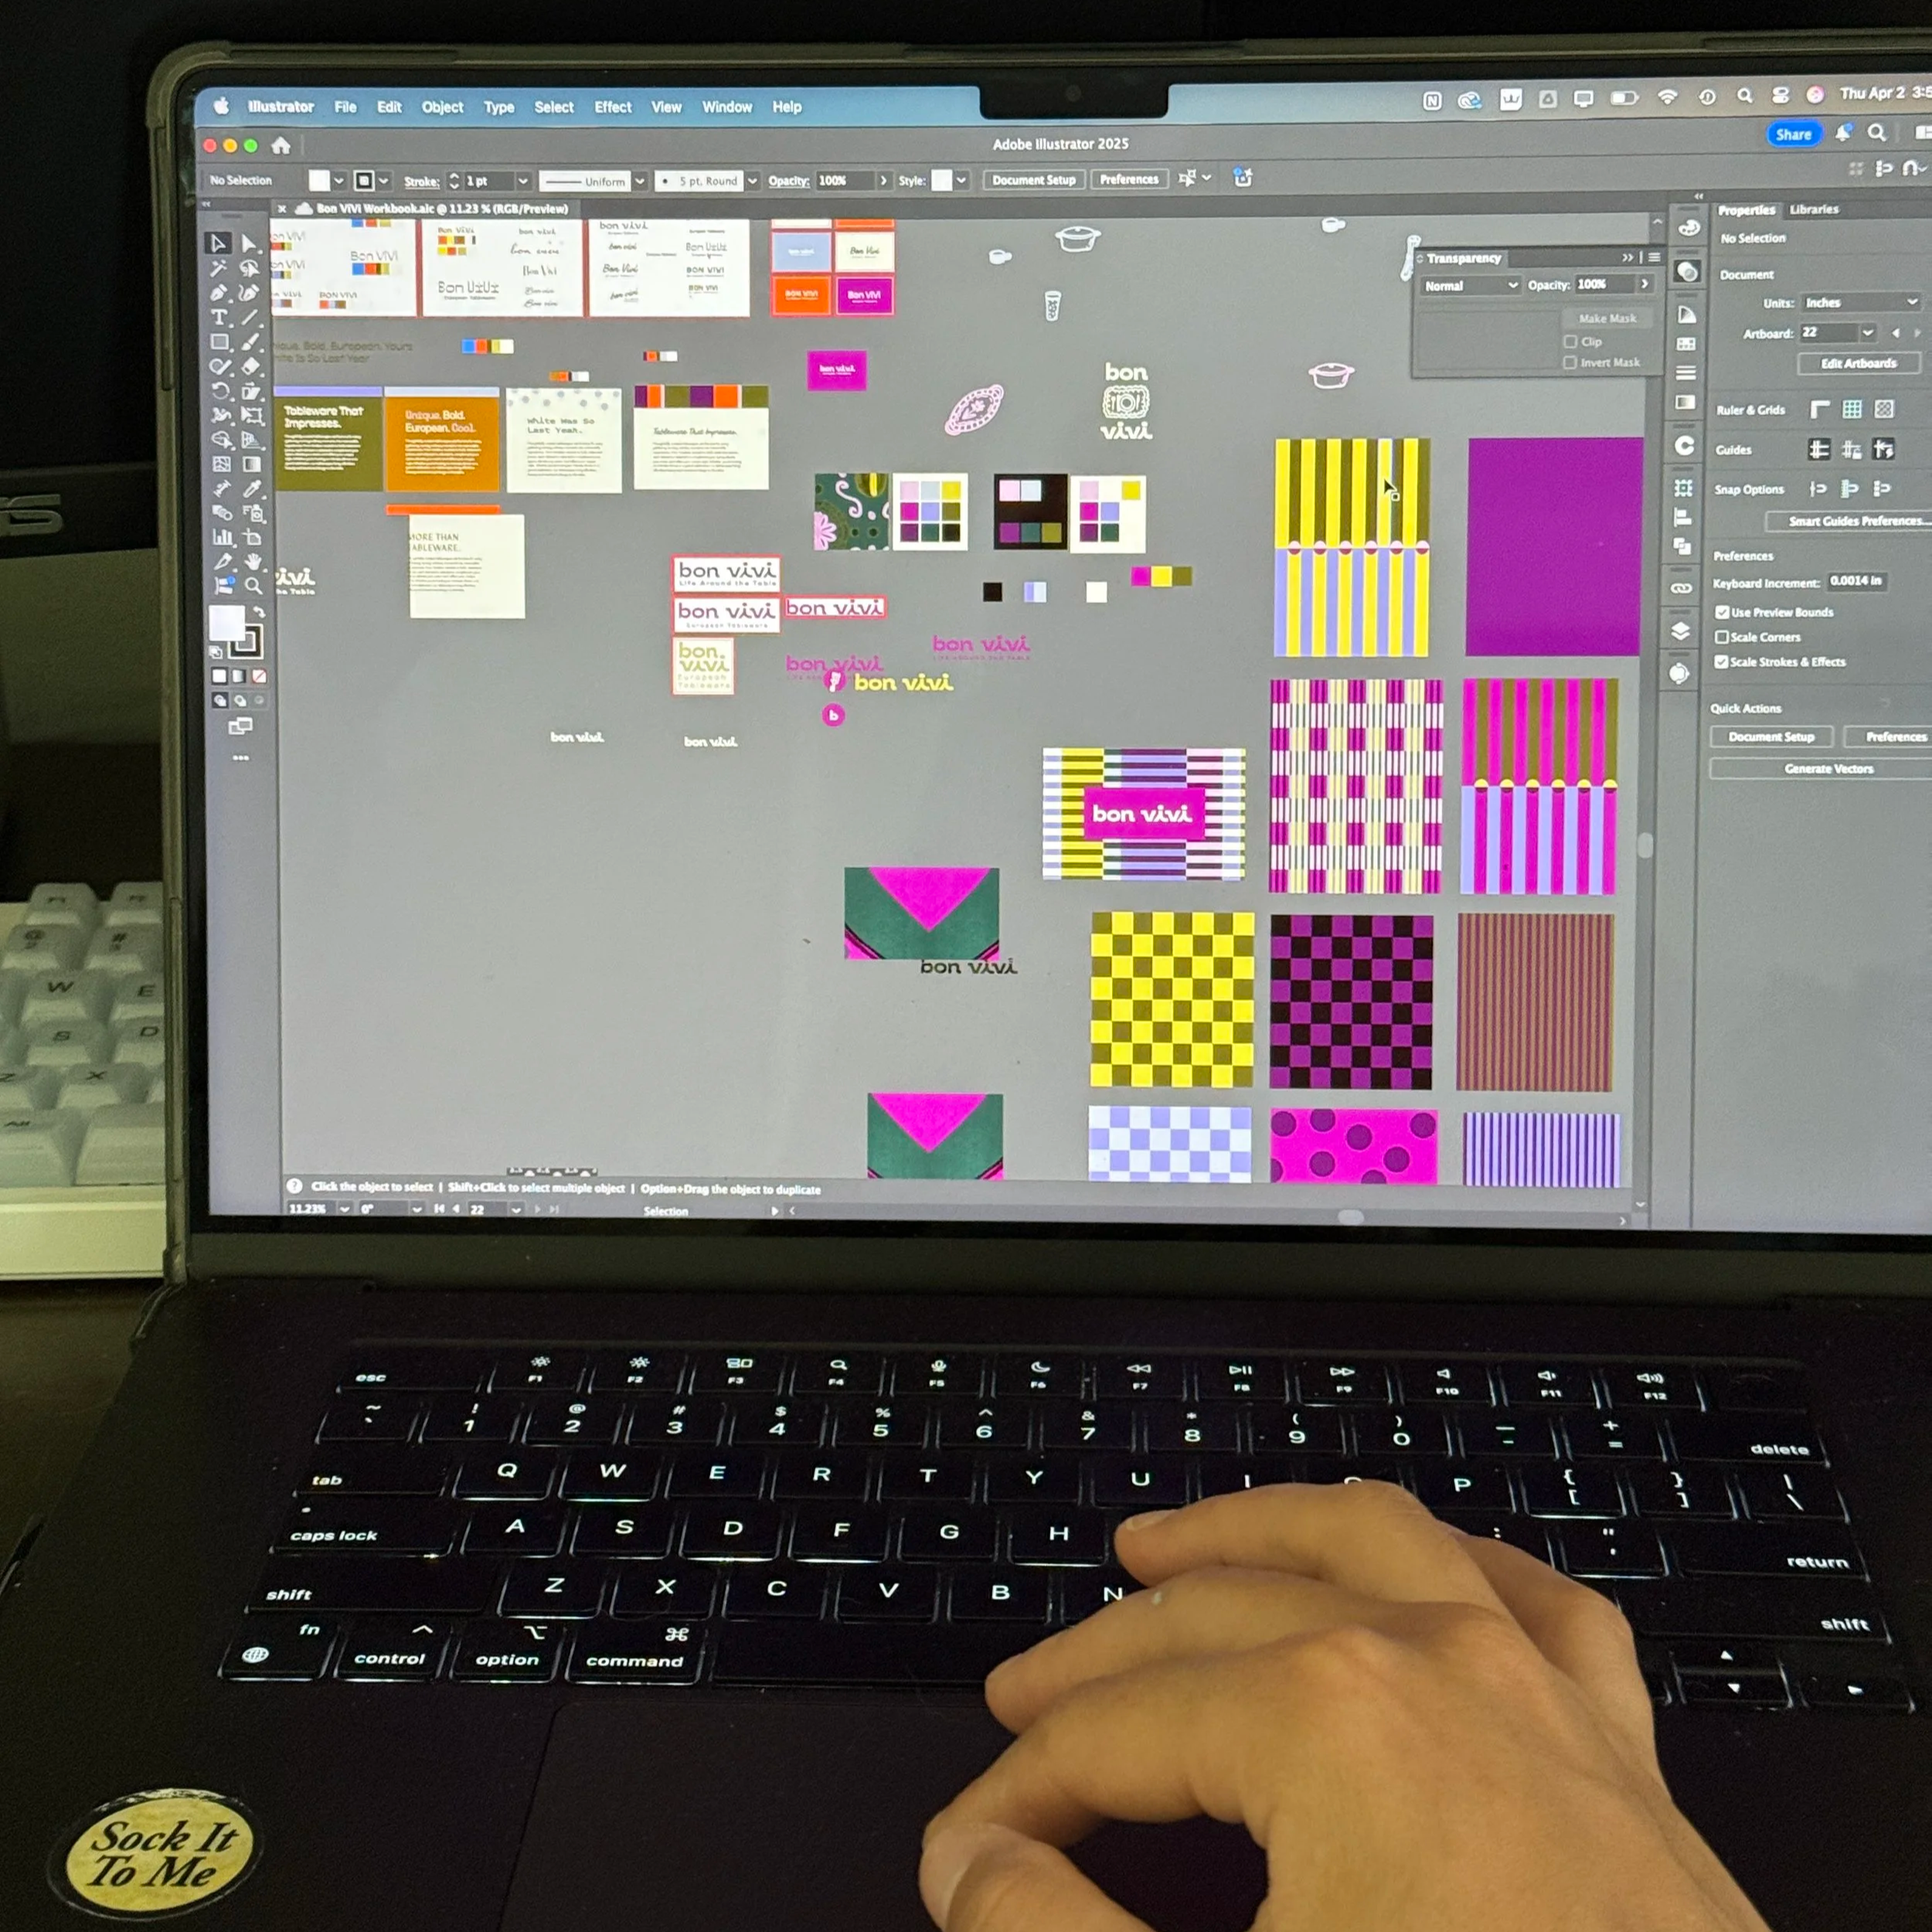
Adobe Files can look a bit crazy while organizing a brand! I like to have one file called workbook where I mess around and another file with all my finalized designs.
For print work, I usually use InDesign for anything larger or more multi page, such as magazines, booklets, presentations, or extensive print layouts. For smaller print pieces like posters, business cards, flyers, or brochures, Illustrator usually gets the job done just fine. Photoshop is my go to for anything photo based or texture heavy. It is incredibly useful for adding depth, dimension, and personality to otherwise simple designs. I especially love experimenting with halftone effects and the Displace filter to bring more texture and visual interest into basic vector artwork. Obviously photoshop is also useful for editing photos, generating fill and expanding borders when I need. Also, let’s not forget mockups, the backbone of a good presentation. I use Freepik and Mockups Design (see Mockups) for a lot of my quick mockups, but I also create my own occasionally with my own original photos!
Having an Adobe subscription also gives you access to Adobe Fonts, which is such an amazing resource for well-designed logos. It is hard to use the logos for clients sometimes because you cannot download them from Adobe, your client would need their own Adobe subscription to be able to have access to them. For free fonts without copyright scares and download worries I use Google Fonts. (see Google Fonts)
3. Canva (free options)
Creation | Documentation | Presentation
I did not like Canva at first because, honestly, it felt like it lowered the perceived value of design with things like its free logo generator. But over time, especially with the way we run our business at Stewdio, it has become a genuinely practical and helpful tool for both us and our clients. Most of our clients are smaller businesses that do not have an Adobe Creative Cloud subscription, so Canva ends up being their go to platform for creating social media graphics, signs, flyers, and other everyday marketing materials. There is a free version, but for access to most of the features I talk about here, you will need to upgrade to the pro version.
One of the main ways I use Canva is for client social media templates. After we finish building a brand, I take the brand guidelines and turn them into editable templates that clients can actually use on their own. This makes it easy for them to swap out text, update images, and adjust colors without completely breaking the design. The template sharing feature is especially useful because if multiple team members need access, each person can work from their own version without accidentally editing the original file for everyone else.
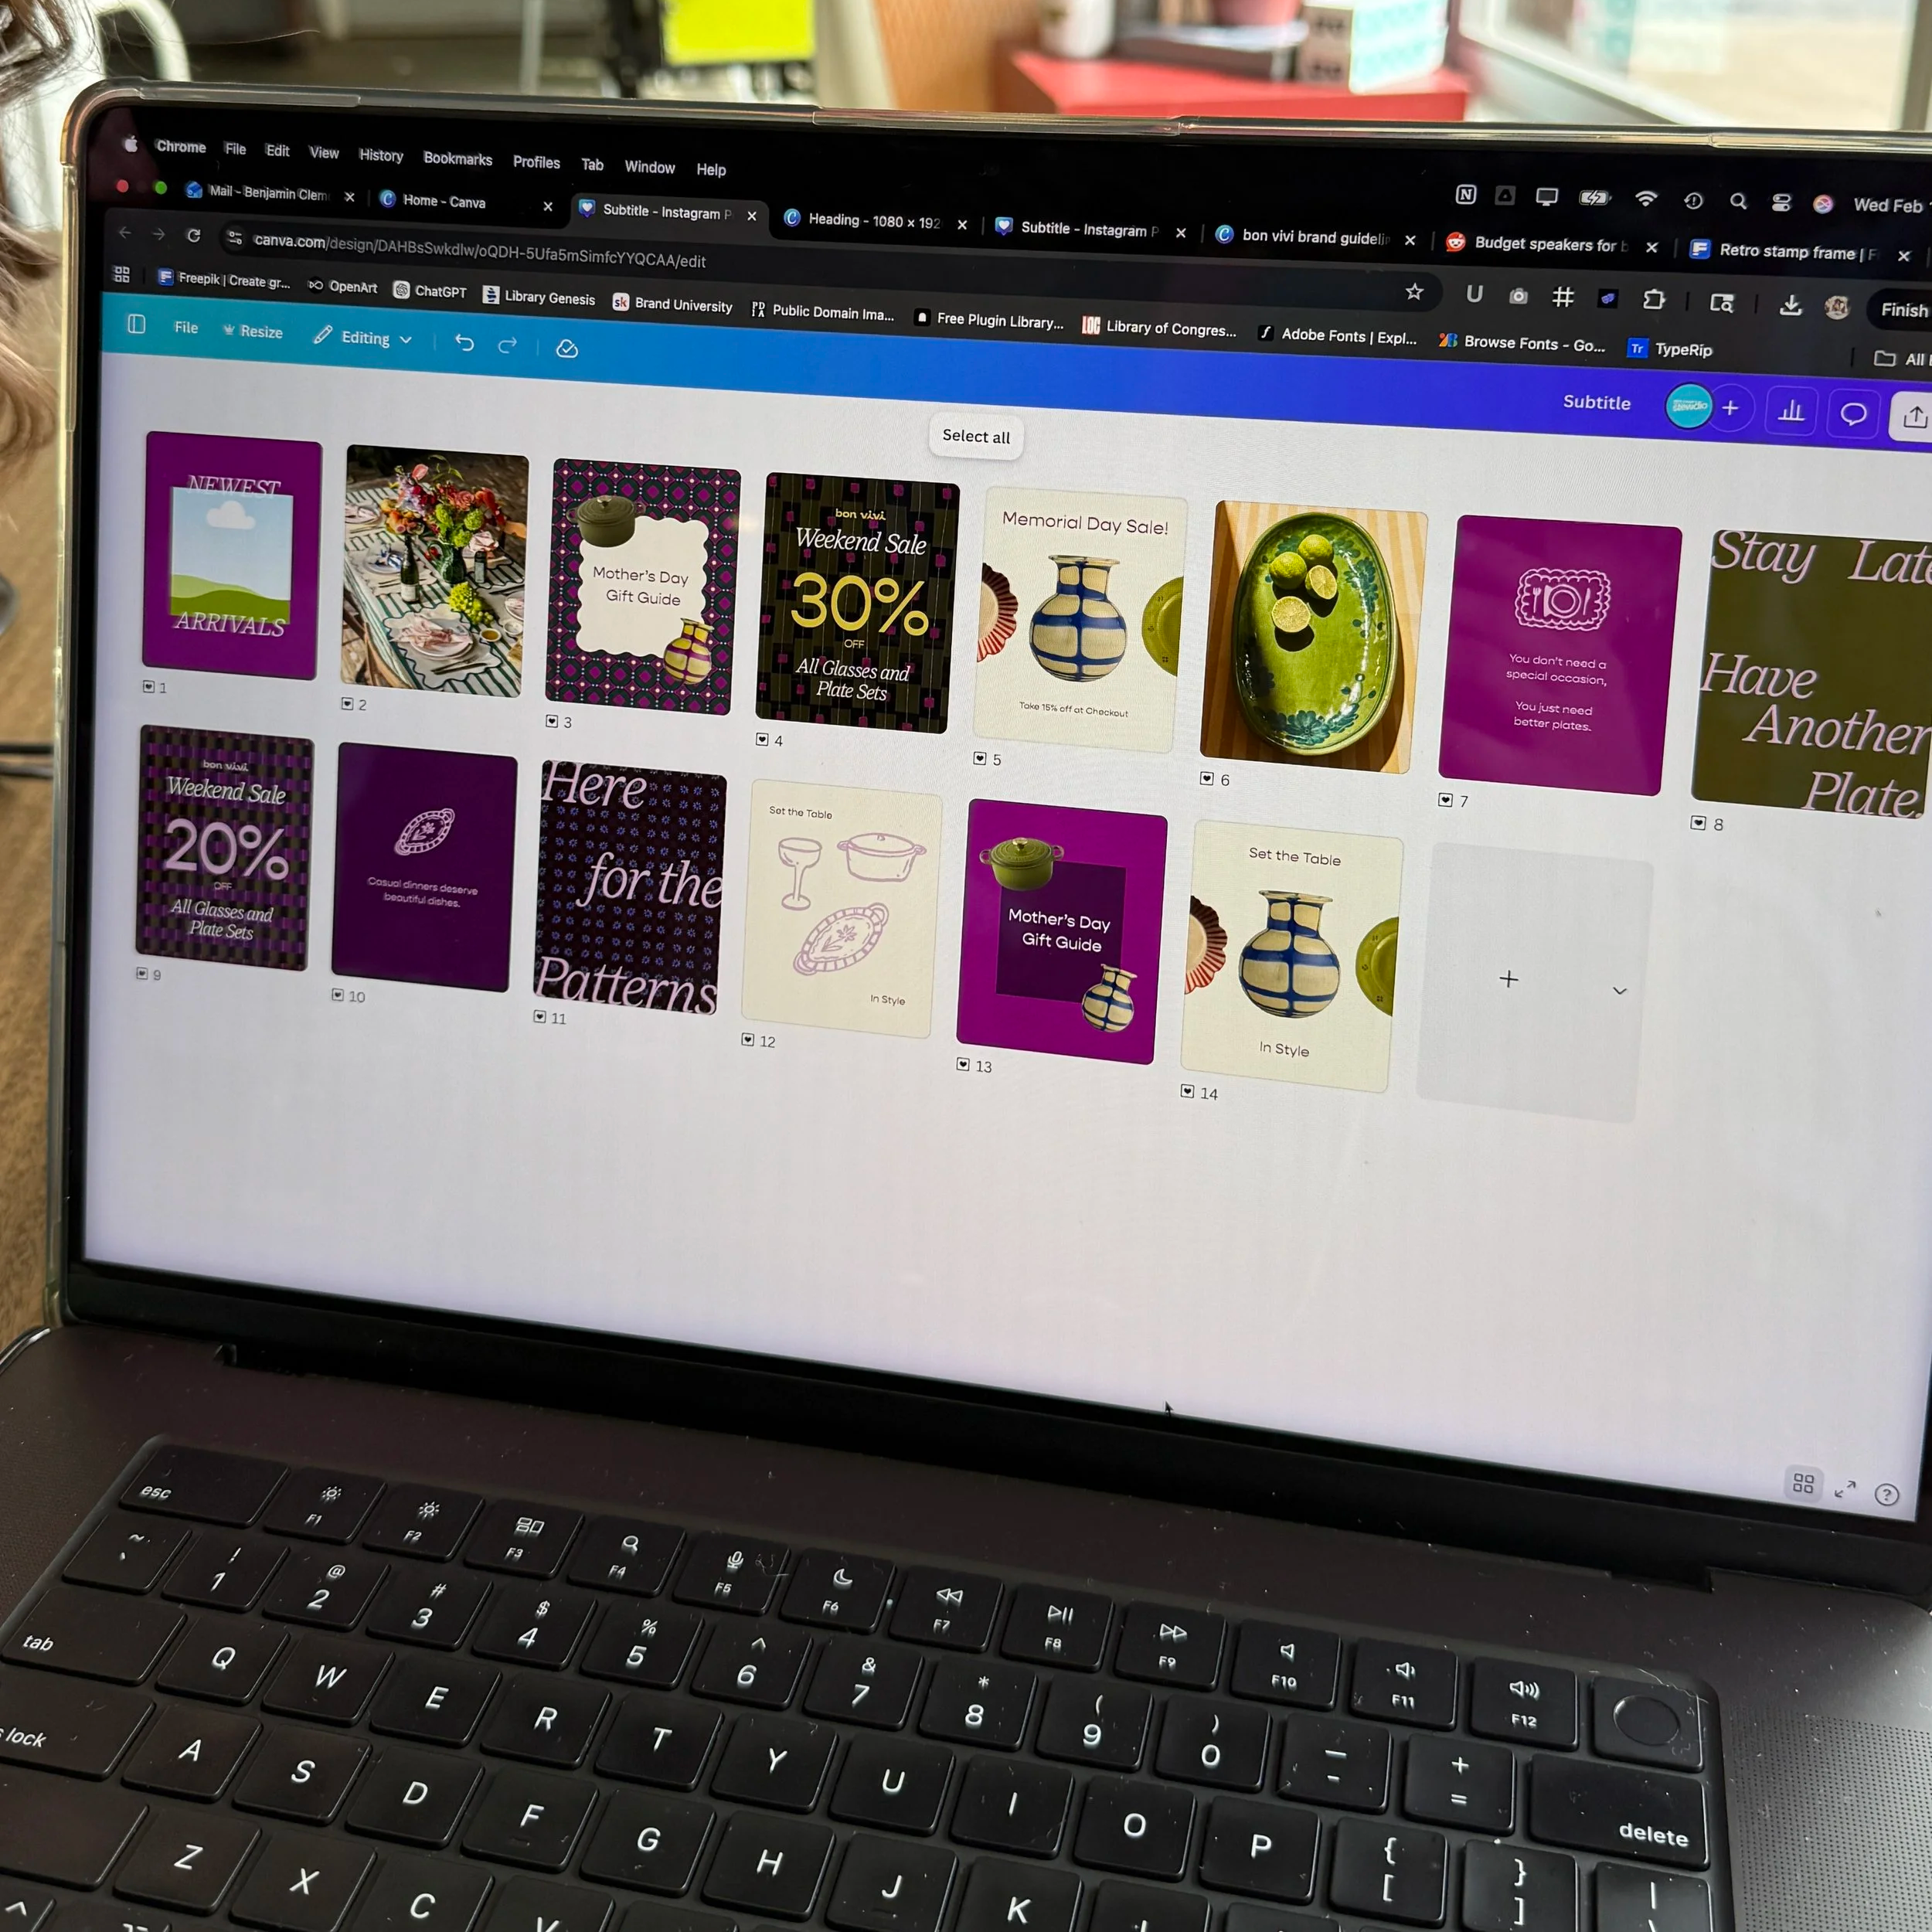
Some Instagram Templates I designed for Bon Vivi Tableware
Another feature I really appreciate is Canva’s Brand Kit. It allows you to upload brand colors, fonts, logos, and other visual assets into one organized place for your client. That setup makes a huge difference because it gives them a much easier way to stay consistent after the project is over. Instead of digging through folders or guessing which logo file to use, they have everything ready to go inside the platform they already feel comfortable using.
I also use Canva to build brand guidelines, mostly because it is just more convenient for my workflow. Brand guideline files can get extremely large in Illustrator, and while InDesign is technically the better program for layout heavy documents, it has never been my personal favorite for this type of work. Canva makes it easy to build clean page layouts thanks to its built in alignment tools, guides, and customizable grids. It is also helpful that you can link websites, folders, and downloadable files directly inside the document, which makes it easy to include quick access to logos, fonts, images, or other brand assets.
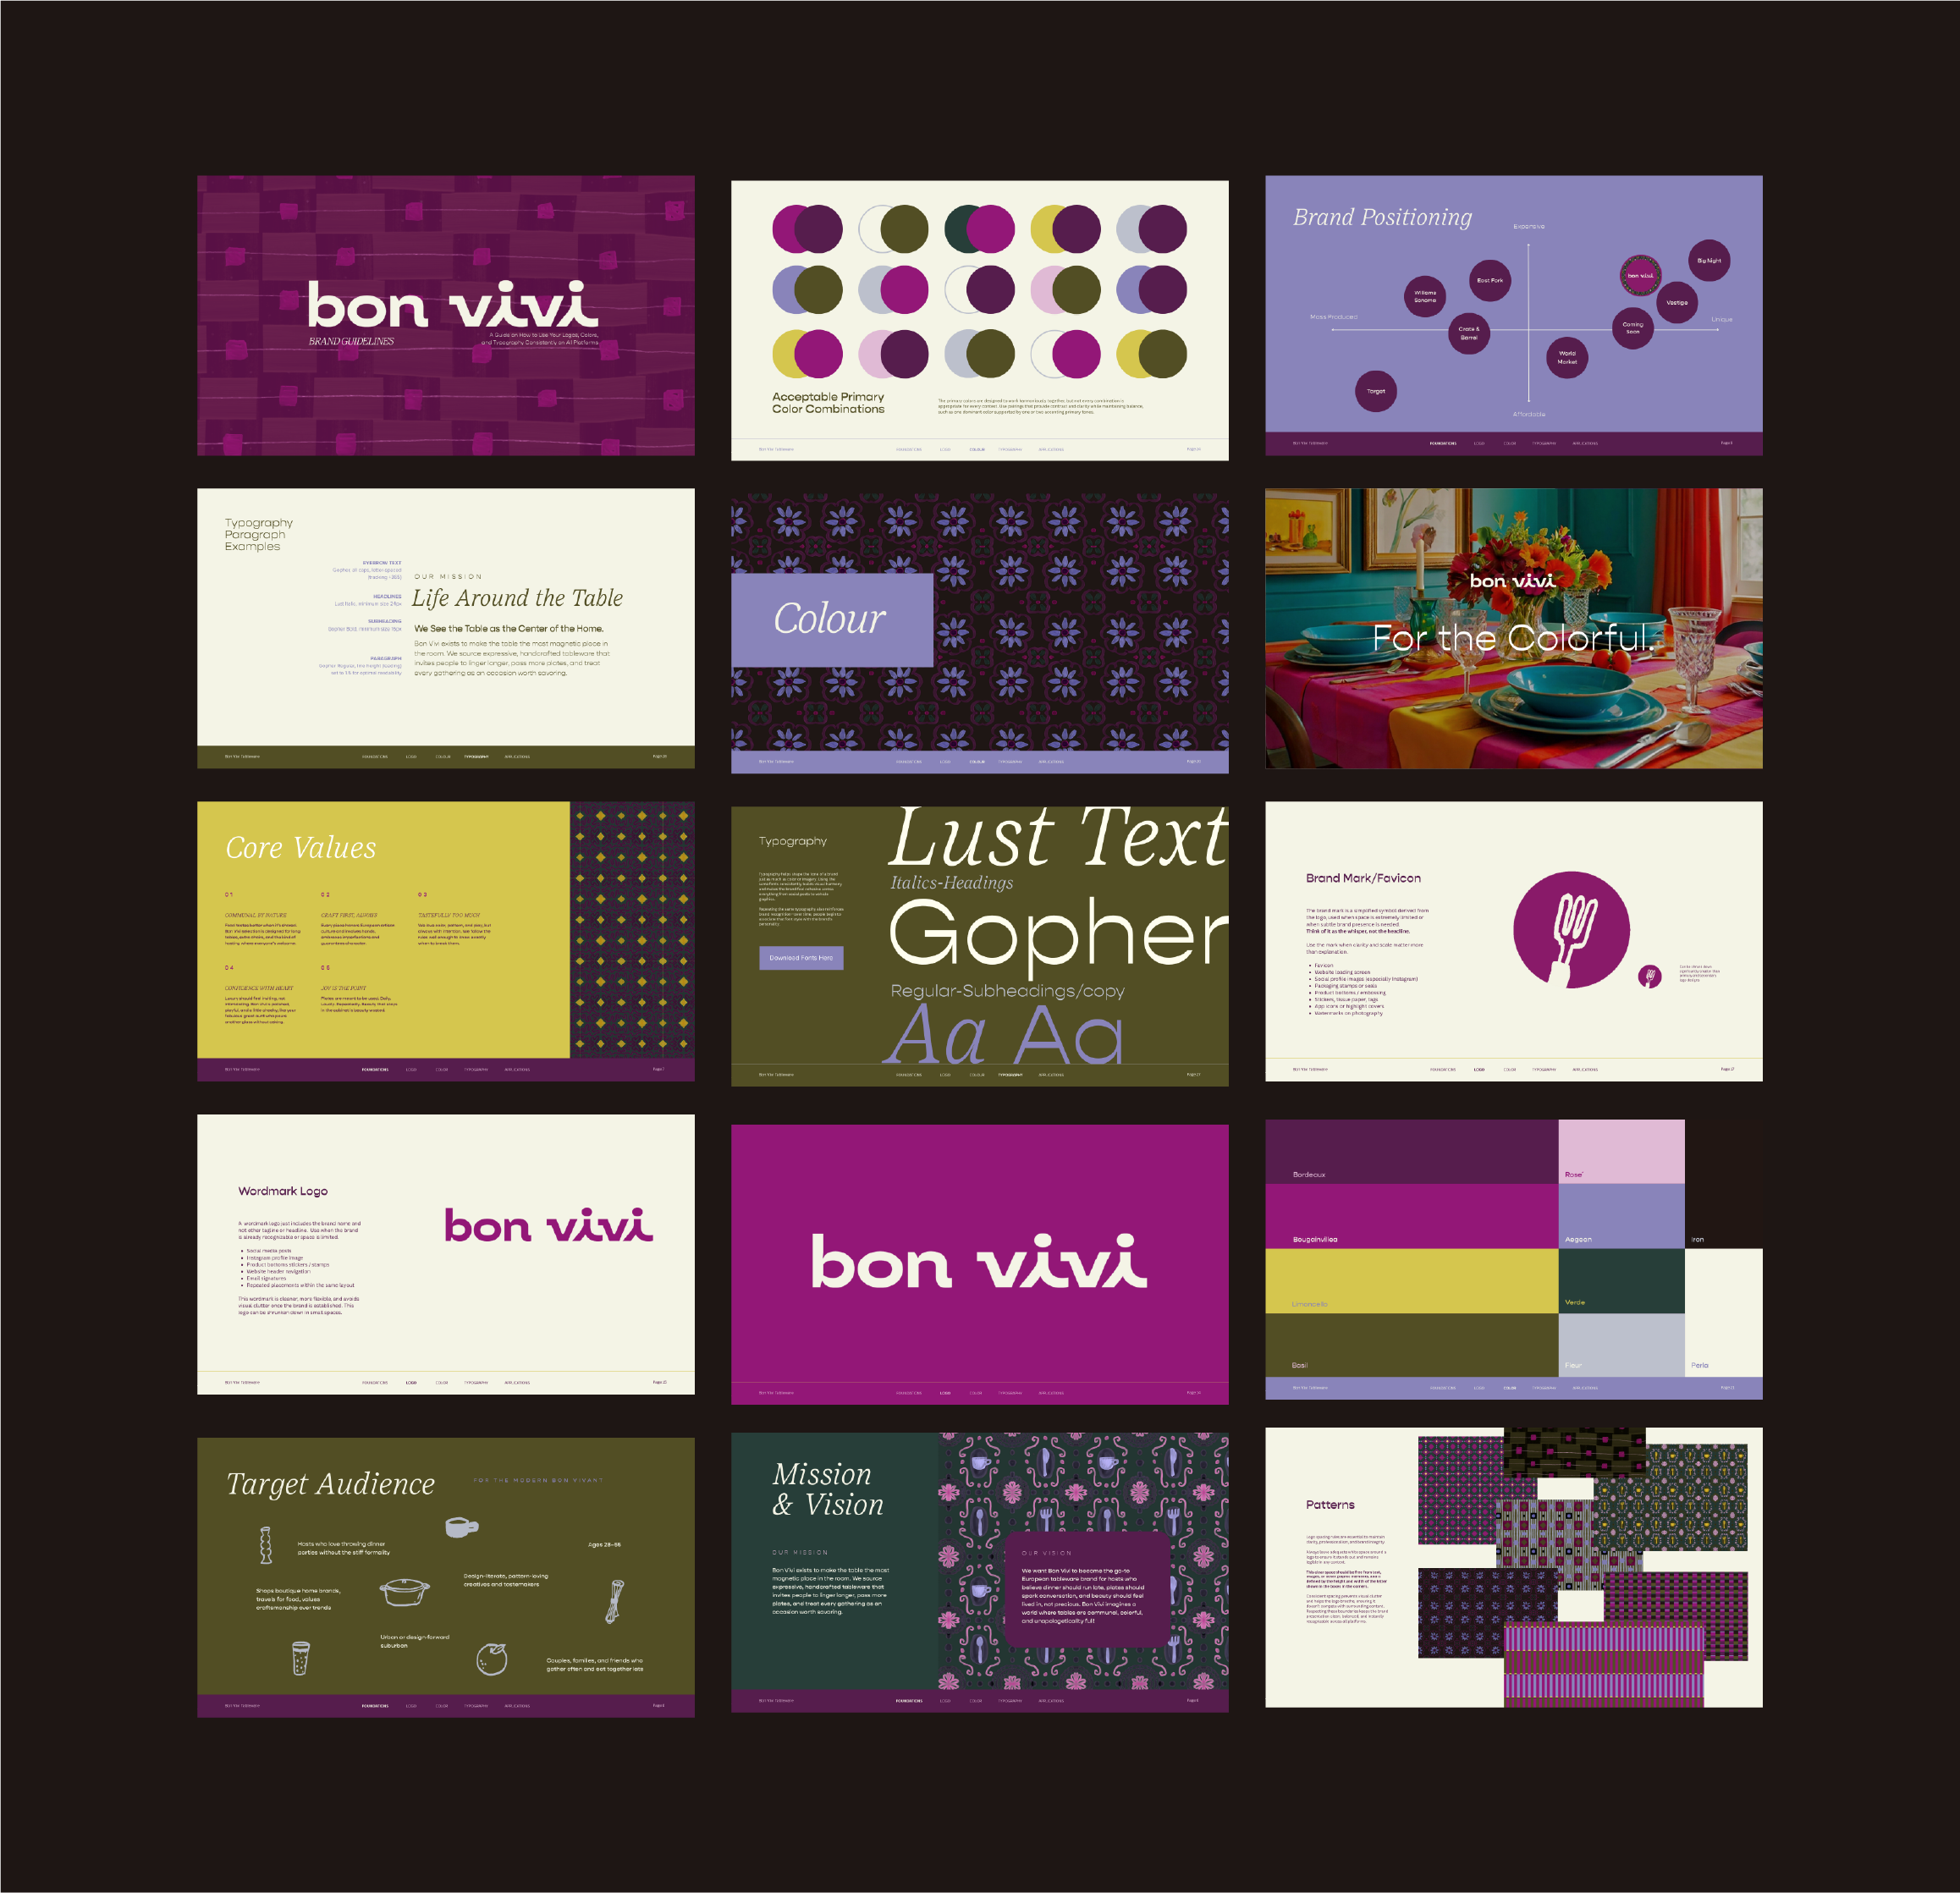
Brand Guidelines designed in Canva Pro
One of the biggest benefits is how easy Canva makes future edits and collaboration. The files stay relatively lightweight, updates are simple to make, and I can invite clients directly into the document so they always have access to their brand guidelines. That means they can revisit the file anytime they need to download a logo, reference a color, or check brand rules without having to email me every time they need something.
If I were recommending Canva to other designers, I would say it works best when you treat it as a client handoff and accessibility tool, not necessarily your main design software. It is especially useful for creating editable templates, organizing brand assets, and giving non designers a way to stay on brand without needing advanced design skills. Used that way, it can actually make your branding work more valuable because it helps your clients continue using it well after the project is finished.
4. Multimedia Mediums: Paint, Markers, Crayons and Crafts
Inspiration | Creativity | Creation
I grew up making art, so whenever I hit a creative block or start feeling unmotivated with design work, I usually go back to the kinds of things that made me love creating in the first place. I love pulling out my sketchbook and making simple drawings with oil pastels, or tossing a few acrylic markers in my purse so I can sketch flowers, buildings, or little landscapes while I’m out somewhere. There is something really refreshing about stepping away from the screen and creating with your hands again. It takes the pressure off, helps ideas come more naturally, and reminds you that not every creative session has to be productive or polished to be valuable.
Using physical mediums can also be a really fun and underrated way to bring more personality into your design work. Traditional materials often create textures, shapes, and imperfections that are hard to replicate digitally, which can make your work feel more original and alive. You can paint, draw, stamp, tear paper, layer materials, or even make messy marks just to see what happens. A lot of those experiments can turn into textures, backgrounds, overlays, or graphic elements you can scan and bring into your digital projects later.
I have also seen so many creative ways designers use physical materials to build custom assets. I have never personally made a font this way, but I have seen designers create lettering and type using things like glue, string, paint, or even food like ketchup and sriracha, which is honestly so cool. I would love to try that one day. I have also seen creators scan in flowers, crumpled paper, packaging scraps, fabric, receipts, and other random household items to create really unique textures for posters, branding, and social graphics. It is such a good reminder that inspiration and design tools are not limited to what is inside your laptop.
One of the best parts about working with physical mediums is that it can help you create things that feel more human. The little imperfections, uneven lines, and natural textures often end up being the details that make a design feel more interesting and memorable. Even if you never use the final piece directly in a project, experimenting this way can loosen you up creatively and lead to ideas you probably would not have found by staring at a blank artboar.